m (Carried over formatting to other images) Tag: Visual edit |
(removed unnecessary link to olmec page (lol)) Tag: Visual edit |
||
| (9 intermediate revisions by 3 users not shown) | |||
| Line 4: | Line 4: | ||
| caption = [[Journal|Bestiary Entry 23]]: Once thought to be the cause of a curse that trapped explorers in a cave... but maybe he was just a small part of it? |
| caption = [[Journal|Bestiary Entry 23]]: Once thought to be the cause of a curse that trapped explorers in a cave... but maybe he was just a small part of it? |
||
| spawns = [[Olmec's Lair]] |
| spawns = [[Olmec's Lair]] |
||
| − | | health = |
+ | | health = 1 (Floaters) |
| damage = Instant Death (Crushing) |
| damage = Instant Death (Crushing) |
||
10+1 Damage (Bombs) |
10+1 Damage (Bombs) |
||
| Line 10: | Line 10: | ||
| corpse = No |
| corpse = No |
||
| size = Huge (4x4) |
| size = Huge (4x4) |
||
| − | |notes=}}Olmec is the first boss of Spelunky 2, found after completing either [[Volcana]] or the [[The Jungle|Jungle]] and reaching [[Olmec's Lair|his lair]]. |
+ | |notes=}}Olmec is the first boss of ''Spelunky 2'', found after completing either [[Volcana]] or the [[The Jungle|Jungle]] and reaching [[Olmec's Lair|his lair]], 3-1. |
| + | |||
| + | |||
== Behavior == |
== Behavior == |
||
Olmec has 3 different phases, entering a new phase after reaching the next floor in [[Olmec's Lair|his lair]]. |
Olmec has 3 different phases, entering a new phase after reaching the next floor in [[Olmec's Lair|his lair]]. |
||
| Line 16: | Line 18: | ||
When entering from 2-4 of [[The Jungle]] or [[Volcana]], a short cutscene will play. |
When entering from 2-4 of [[The Jungle]] or [[Volcana]], a short cutscene will play. |
||
| − | In this cutscene, three [[Caveman|cavemen]] are shown worshipping to a stone statue of Olmec. Chunks of stone begin flying off, prompting the [[Caveman|cavemen]] to stop their ritual. It is revealed that the stone statue is actually of the real, golden Olmec, spooking the [[Caveman|cavemen]] and prompting them to run away. Olmec then jumps up and crushes the last third [[caveman]] who was too slow |
+ | In this cutscene, three [[Caveman|cavemen]] are shown worshipping to a stone statue of Olmec. Chunks of stone begin flying off, prompting the [[Caveman|cavemen]] to stop their ritual. It is revealed that the stone statue is actually of the real, golden Olmec, spooking the [[Caveman|cavemen]] and prompting them to run away. Olmec then jumps up and crushes the last third [[caveman]] who was too slow before the battle begins. |
| − | Olmec functions exactly like a wall, and a player can attach to his top ends like a ledge and cling to him with [[Climbing Gloves]]. He is completely indestructible and cannot be damaged by the [[Mattock]] or explosions from objects like [[Bomb|Bombs]]. Shooting |
+ | Olmec functions exactly like a wall, and a player can attach to his top ends like a ledge and cling to him with [[Climbing Gloves]]. He is completely indestructible and cannot be damaged by the [[Mattock]] or explosions from objects like [[Bomb|Bombs]]. Shooting Olmec with the [[Plasma Cannon]] will reflect the shot back at the attacker. |
=== Phase 1 === |
=== Phase 1 === |
||
| − | [[File: |
+ | [[File:Olmec Phase 1 S2.jpg|frameless|383x383px]] |
| − | Olmec's first phase on the entry floor is similar to his behavior in [[Spelunky|''Spelunky HD'']], although he is much faster and does not spawn enemies due to the absence of the red gem on his forehead that was previously responsible for doing so. |
+ | Olmec's first phase on the entry floor is similar to his behavior in [[Spelunky|''Spelunky HD'']], although he is much faster, can leap higher and farther, and does not spawn enemies due to the absence of the red gem on his forehead that was previously responsible for doing so. |
When the player is close, he will jump up above the player and pause for a second before coming down, crushing anything and destroying a row of tiles on the floor below him. |
When the player is close, he will jump up above the player and pause for a second before coming down, crushing anything and destroying a row of tiles on the floor below him. |
||
| − | If the player manages to get on top of Olmec, he will jump towards whichever end the player is closest to. When Olmec jumps up but does not get above |
+ | If the player manages to get on top of Olmec, he will jump towards whichever end the player is closest to. When Olmec jumps up but does not get above the player he was specifically targeting, he will not destroy tiles below him. |
=== Phase 2 === |
=== Phase 2 === |
||
| − | [[File: |
+ | [[File:Olmec Phase 2 S2.jpg|frameless|380x380px]] |
Olmec's second phase triggers once the he falls into the second floor. Here, Olmec decides to mix things up. |
Olmec's second phase triggers once the he falls into the second floor. Here, Olmec decides to mix things up. |
||
| − | Olmec will levitate into the air, revealing two purple [[Hoverpack| |
+ | Olmec will levitate into the air, revealing two purple floaters (similar to the [[Hoverpack|Hoverpack's]]) beneath him. He will then initially move in the direction that the player was towards until a tile or indestructible wall impedes his movement, prompting him to switch directions. |
If the player is below his eye level, his face will open up horizontally across his eyes, revealing two mechanical eyes underneath. He will then launch 3 bombs at varying speeds from both ends of his face. |
If the player is below his eye level, his face will open up horizontally across his eyes, revealing two mechanical eyes underneath. He will then launch 3 bombs at varying speeds from both ends of his face. |
||
| − | After completing three bomb cycles, Olmec will not repeat this attack until both of his |
+ | After completing three bomb cycles, Olmec will not repeat this attack again until both of his floaters are shattered and he rises again. |
| − | Olmec's |
+ | Olmec's floaters take one HP of damage before shattering. Once both are destroyed, he will fall down until he hits the ground, crushing two rows of tiles under him on his way down. If he did not end up on the third floor to initiate phase 3 after falling, he will rise back up and resume dispensing bombs. |
=== Phase 3 === |
=== Phase 3 === |
||
| − | [[File: |
+ | [[File:Olmec Phase 3 S2.jpg|frameless|380x380px]] |
Olmec's third and final phase is identical to his first one, with him jumping around the arena in an attempt to stomp the player. This phase has one major tweak; every other slam will make him open his mouth and release two [[UFO|UFOs]] from each end of his mouth. |
Olmec's third and final phase is identical to his first one, with him jumping around the arena in an attempt to stomp the player. This phase has one major tweak; every other slam will make him open his mouth and release two [[UFO|UFOs]] from each end of his mouth. |
||
=== Defeating Olmec === |
=== Defeating Olmec === |
||
| − | [[File: |
+ | [[File:Olmec Defeated S2.jpg|frameless|382x382px]] |
| − | At the very bottom of the third floor is a lake of [[lava]]. If the player manages to herd Olmec into the lake, the fight will end and allow the player to use the top of his head to enter one of the many doors just above the [[lava]]. |
+ | At the very bottom of the third floor is a lake of [[lava]]. If the player manages to herd Olmec into the lake, the fight will end and allow the player to use the top of his head to enter one of the many doors just above the [[lava]]. These doors are perfectly spaced out to where it is impossible to be unable to enter one; if Olmec is perfectly between two doors, the player will be able to enter both. |
| − | This sub-area contains the [[Ankh]] at the top of the level as well as the [[coffin]] containing [[ |
+ | This sub-area contains the [[Ankh]] at the top of the level as well as the [[coffin]] containing the [[Spelunky 2 Characters|spelunker]] [[The Tunnel Man|Manfred Tunnel]], found to the left of the [[Ankh]]. |
== Strategy == |
== Strategy == |
||
* The safest place to be in all three phases is always on top of Olmec. |
* The safest place to be in all three phases is always on top of Olmec. |
||
| − | * |
+ | *If Olmec deploys a bomb or [[UFO]] too close to a wall, it will instantly explode. |
| − | * |
+ | *[[Rock|Rocks]] and other objects may hit one of Olmec's floaters after flying from bomb explosions. Due to this, it is best to move away from under Olmec after he has dispensed all three of his bombs. |
| − | * |
+ | *Players using the [[Climbing Gloves]] should be careful when fighting Olmec, as they may accidently get themselves stuck against him and crushed against him and a wall. |
| − | === |
+ | ===Video Guides=== |
| − | * |
+ | *[https://youtu.be/G4bZpuXmATQ Consistent and Quick Olmec Strat], from bread1129 |
| − | ** |
+ | **[https://youtu.be/UgH_KssJyus A slightly harder, yet faster variation of this strat], demonstrated by Xanagear |
| − | * |
+ | *[https://youtu.be/3zZfW8MUPZI Consistent Olmec Skip], by Mezian (For more skips like the Olmec Skip, see [[Skips]]) |
| + | **[https://youtu.be/YG0UJnIl7qk A substantially easier variation of this skip that requires more bombs], demonstrated by (sic) Israel Blargh! |
||
| − | == |
+ | ==Trivia == |
* The [[Caveman|cavemen]] seen in his opening animation only exist during the animation, and will despawn when control is returned to the player. |
* The [[Caveman|cavemen]] seen in his opening animation only exist during the animation, and will despawn when control is returned to the player. |
||
| + | *Olmec's second phase was substantially different around ''Spelunky 2''<nowiki/>'s launch; each of Olmec's floaters could withstand 3 HP of damage before breaking, and he would dispense bombs regardless of how many times he had performed the attack and even if the player was above him. A video depicting this version of Olmec can be seen [https://youtu.be/q0CI7pLX4cU here]. |
||
| + | **The first wave of changes was in version 1.15.0a. This update reduced Olmec's floater's HP to 1 and made him only dispense bombs while the player was below eye level. |
||
| + | ***Version 1.16.0 increased the horizontal margin of player proximity that would prompt Olmec to dispense bombs, and made him only dispense bombs a maximum of three times before forcing the player to destroy both of his floaters to make him repeat the attack. |
||
{{Spelunky 2 Monsters}} |
{{Spelunky 2 Monsters}} |
||
Revision as of 15:38, 29 April 2021
Olmec is the first boss of Spelunky 2, found after completing either Volcana or the Jungle and reaching his lair, 3-1.
Behavior
Olmec has 3 different phases, entering a new phase after reaching the next floor in his lair.
When entering from 2-4 of The Jungle or Volcana, a short cutscene will play.
In this cutscene, three cavemen are shown worshipping to a stone statue of Olmec. Chunks of stone begin flying off, prompting the cavemen to stop their ritual. It is revealed that the stone statue is actually of the real, golden Olmec, spooking the cavemen and prompting them to run away. Olmec then jumps up and crushes the last third caveman who was too slow before the battle begins.
Olmec functions exactly like a wall, and a player can attach to his top ends like a ledge and cling to him with Climbing Gloves. He is completely indestructible and cannot be damaged by the Mattock or explosions from objects like Bombs. Shooting Olmec with the Plasma Cannon will reflect the shot back at the attacker.
Phase 1
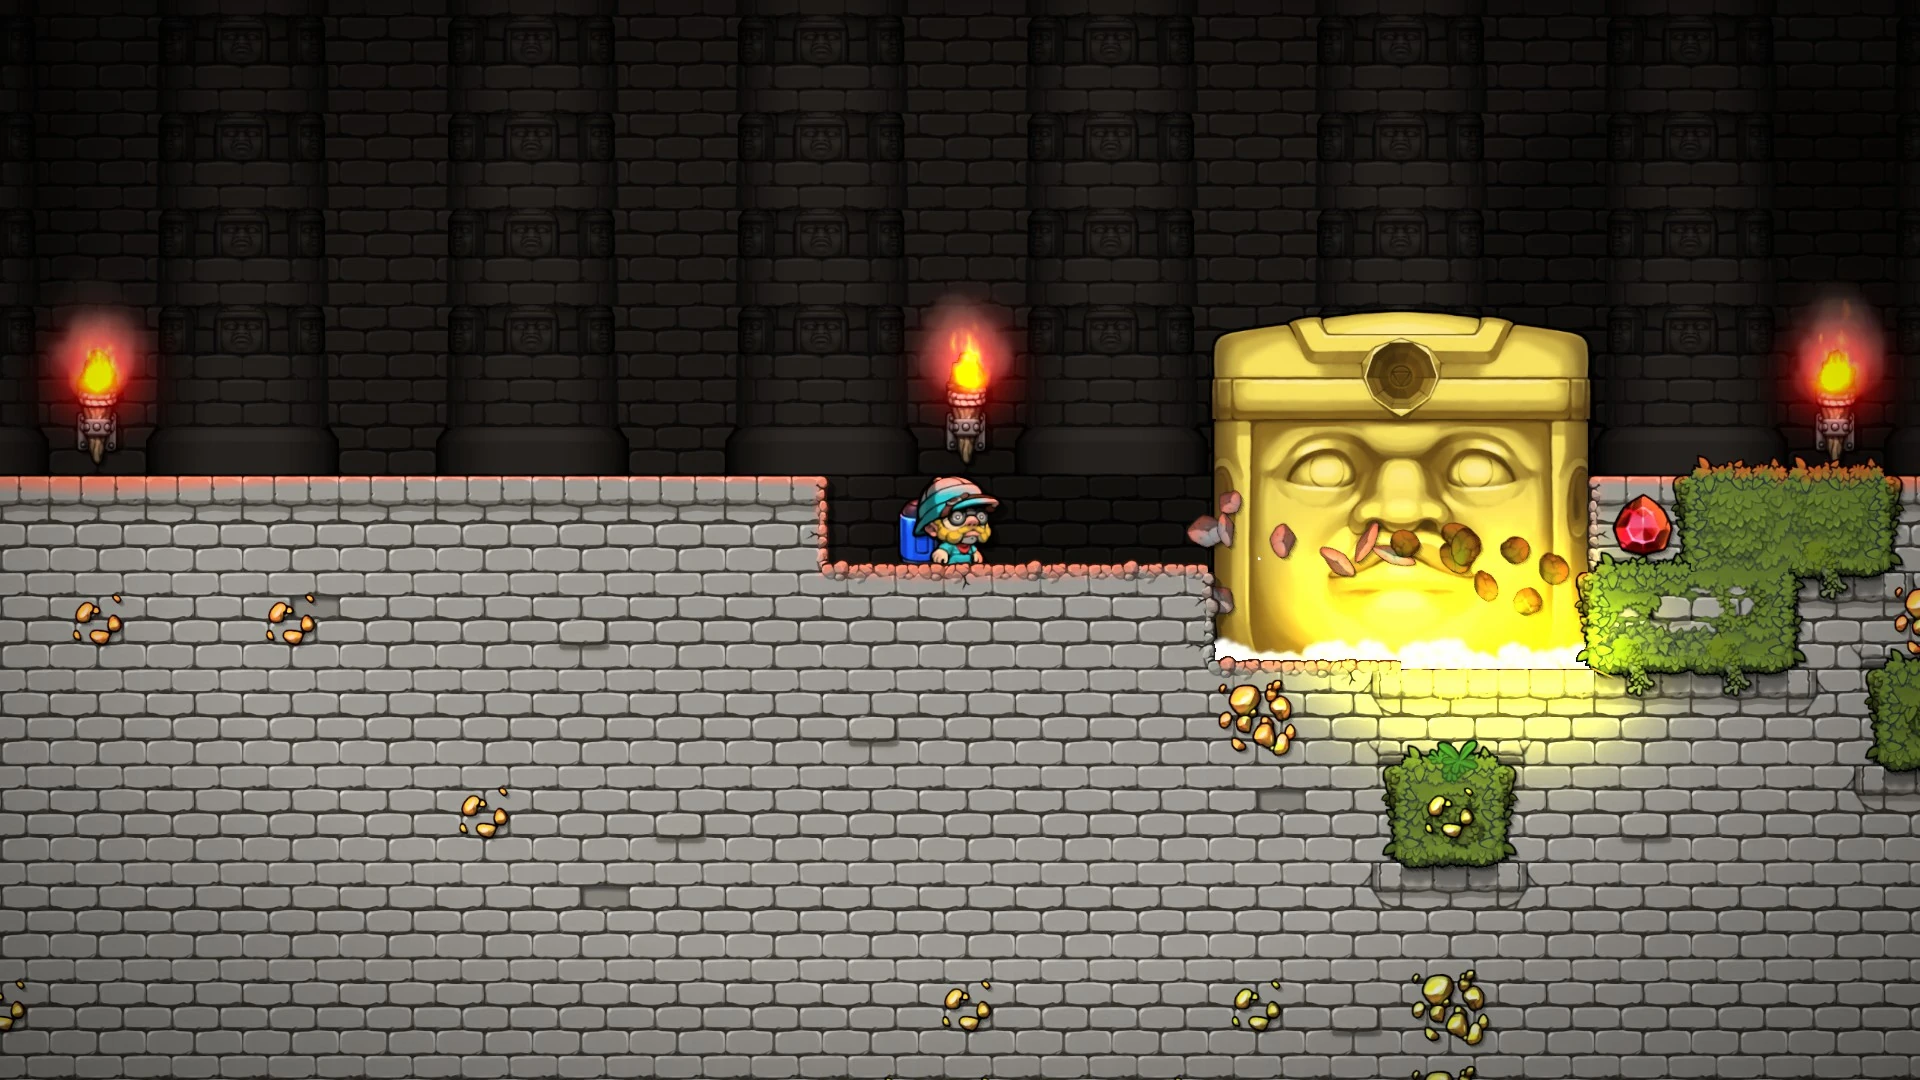
Olmec's first phase on the entry floor is similar to his behavior in Spelunky HD, although he is much faster, can leap higher and farther, and does not spawn enemies due to the absence of the red gem on his forehead that was previously responsible for doing so.
When the player is close, he will jump up above the player and pause for a second before coming down, crushing anything and destroying a row of tiles on the floor below him.
If the player manages to get on top of Olmec, he will jump towards whichever end the player is closest to. When Olmec jumps up but does not get above the player he was specifically targeting, he will not destroy tiles below him.
Phase 2
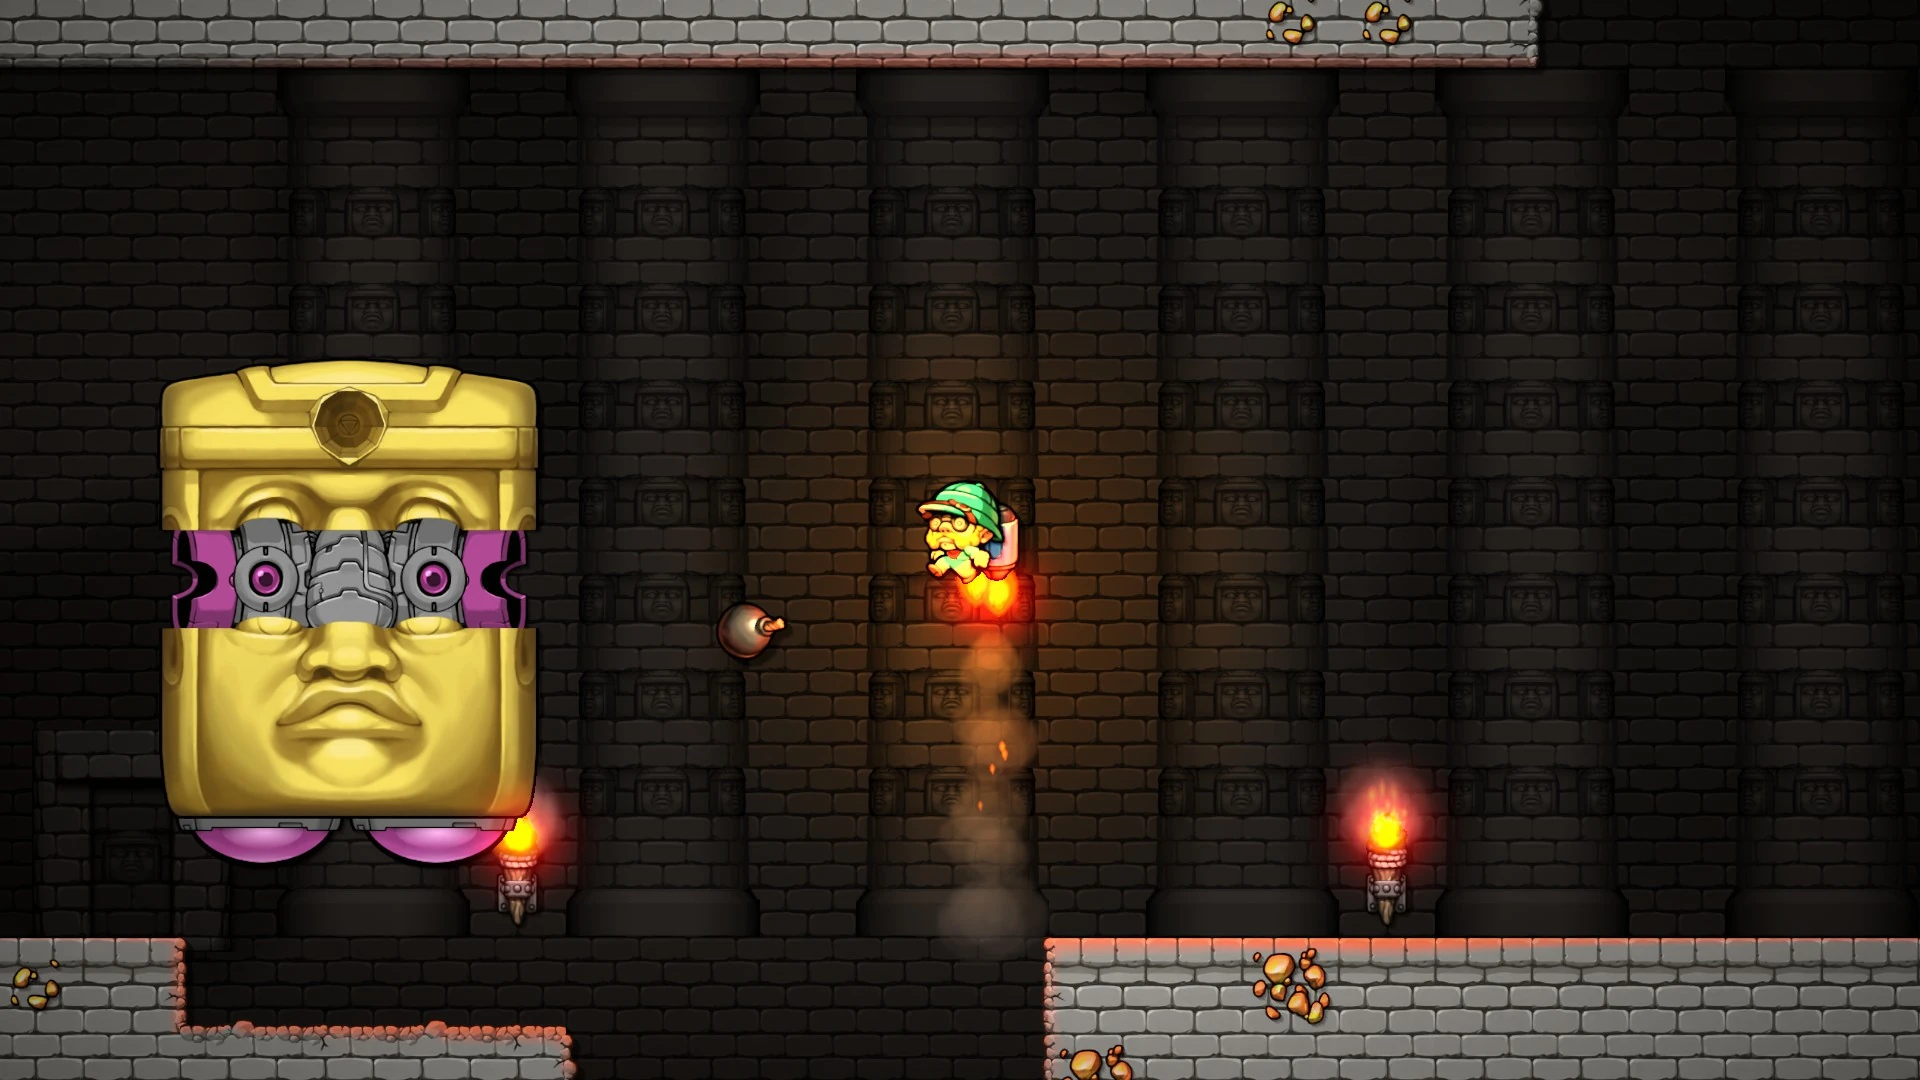
Olmec's second phase triggers once the he falls into the second floor. Here, Olmec decides to mix things up.
Olmec will levitate into the air, revealing two purple floaters (similar to the Hoverpack's) beneath him. He will then initially move in the direction that the player was towards until a tile or indestructible wall impedes his movement, prompting him to switch directions.
If the player is below his eye level, his face will open up horizontally across his eyes, revealing two mechanical eyes underneath. He will then launch 3 bombs at varying speeds from both ends of his face.
After completing three bomb cycles, Olmec will not repeat this attack again until both of his floaters are shattered and he rises again.
Olmec's floaters take one HP of damage before shattering. Once both are destroyed, he will fall down until he hits the ground, crushing two rows of tiles under him on his way down. If he did not end up on the third floor to initiate phase 3 after falling, he will rise back up and resume dispensing bombs.
Phase 3
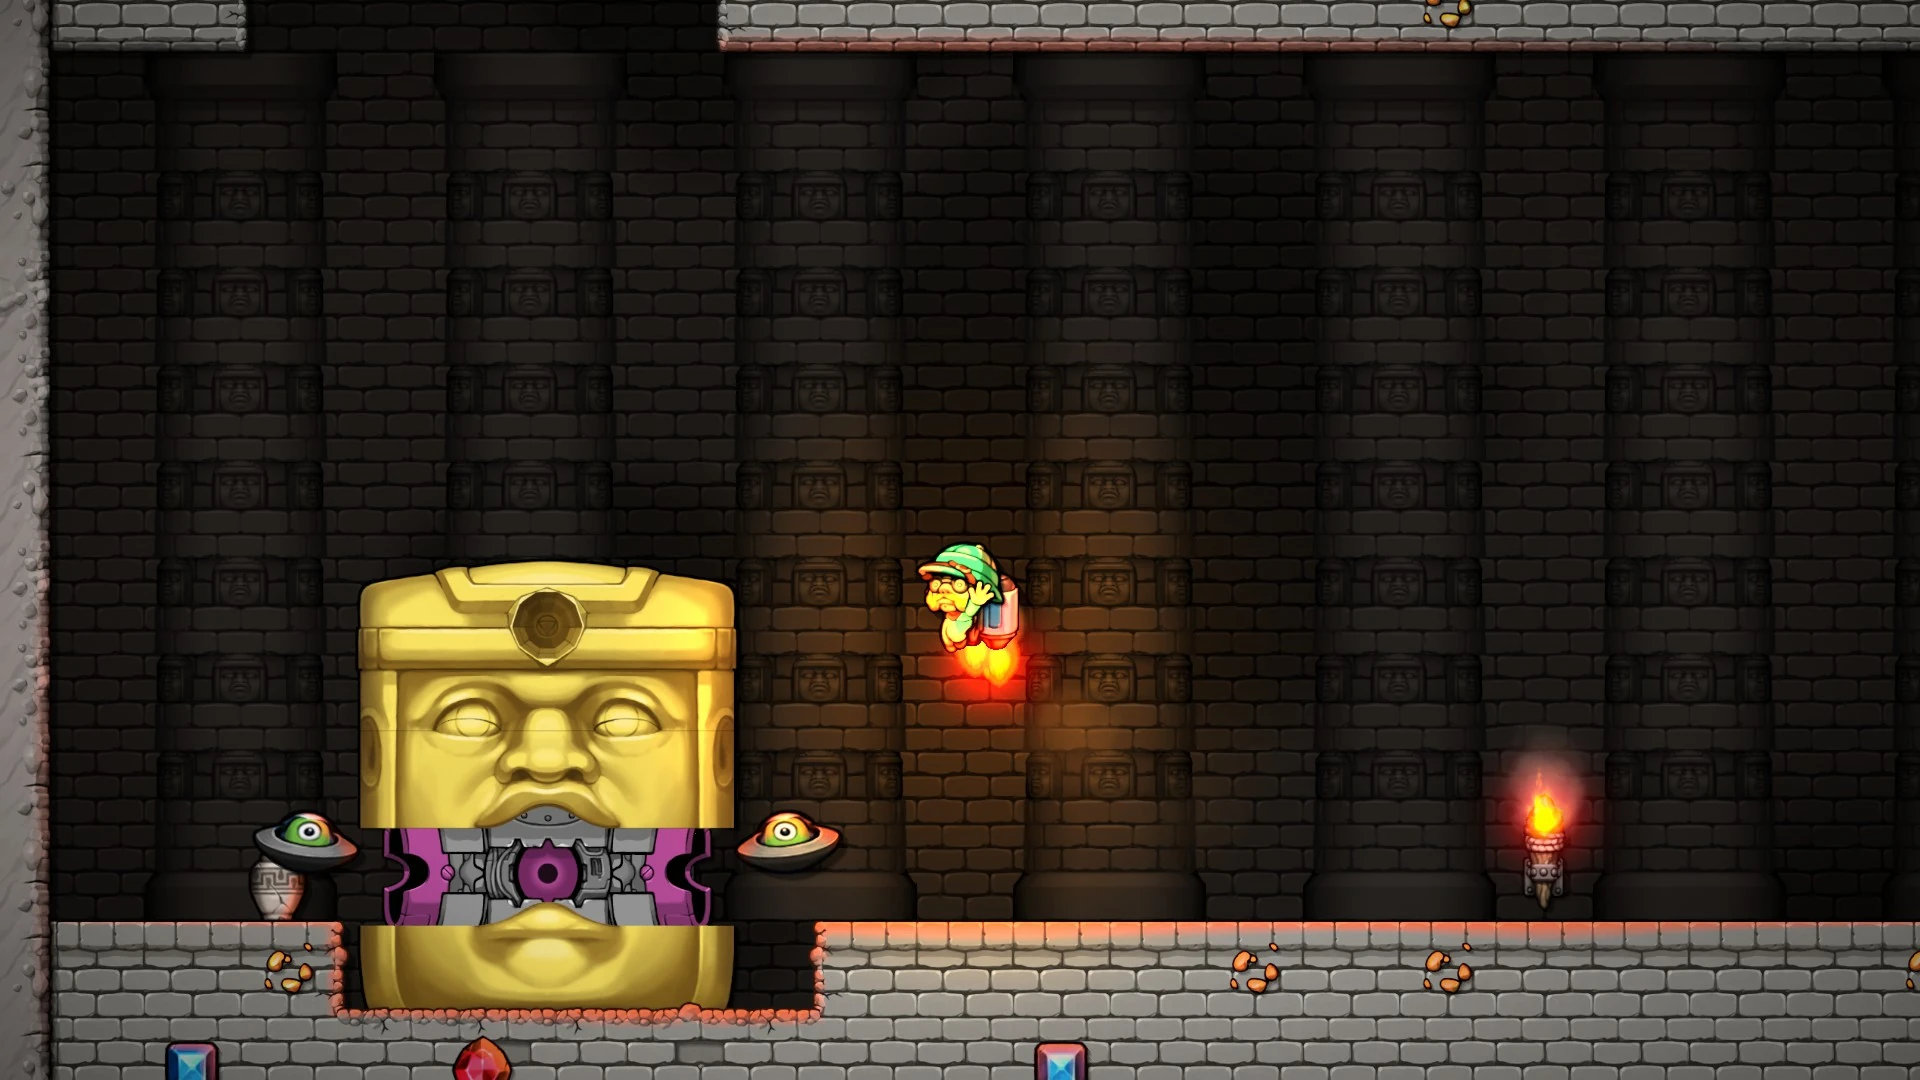
Olmec's third and final phase is identical to his first one, with him jumping around the arena in an attempt to stomp the player. This phase has one major tweak; every other slam will make him open his mouth and release two UFOs from each end of his mouth.
Defeating Olmec
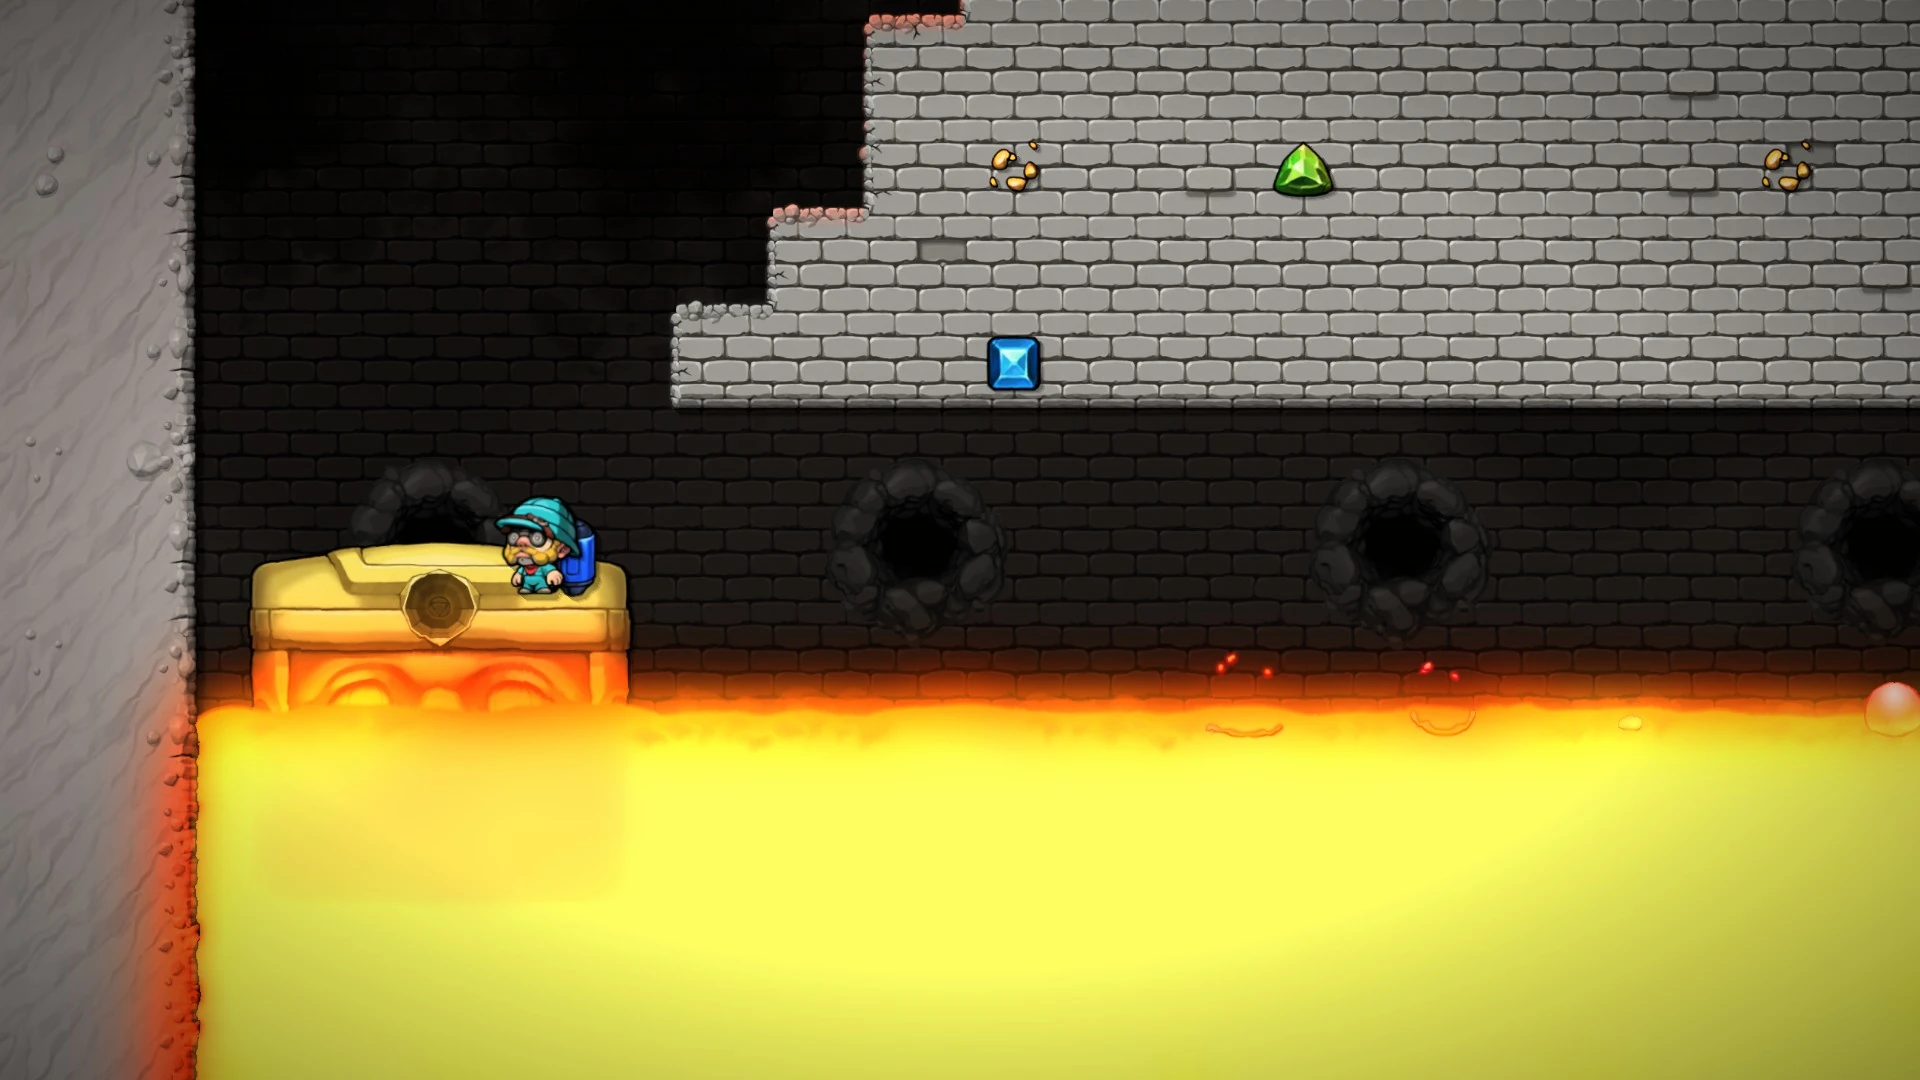
At the very bottom of the third floor is a lake of lava. If the player manages to herd Olmec into the lake, the fight will end and allow the player to use the top of his head to enter one of the many doors just above the lava. These doors are perfectly spaced out to where it is impossible to be unable to enter one; if Olmec is perfectly between two doors, the player will be able to enter both.
This sub-area contains the Ankh at the top of the level as well as the coffin containing the spelunker Manfred Tunnel, found to the left of the Ankh.
Strategy
- The safest place to be in all three phases is always on top of Olmec.
- If Olmec deploys a bomb or UFO too close to a wall, it will instantly explode.
- Rocks and other objects may hit one of Olmec's floaters after flying from bomb explosions. Due to this, it is best to move away from under Olmec after he has dispensed all three of his bombs.
- Players using the Climbing Gloves should be careful when fighting Olmec, as they may accidently get themselves stuck against him and crushed against him and a wall.
Video Guides
- Consistent and Quick Olmec Strat, from bread1129
- A slightly harder, yet faster variation of this strat, demonstrated by Xanagear
- Consistent Olmec Skip, by Mezian (For more skips like the Olmec Skip, see Skips)
- A substantially easier variation of this skip that requires more bombs, demonstrated by (sic) Israel Blargh!
Trivia
- The cavemen seen in his opening animation only exist during the animation, and will despawn when control is returned to the player.
- Olmec's second phase was substantially different around Spelunky 2's launch; each of Olmec's floaters could withstand 3 HP of damage before breaking, and he would dispense bombs regardless of how many times he had performed the attack and even if the player was above him. A video depicting this version of Olmec can be seen here.
- The first wave of changes was in version 1.15.0a. This update reduced Olmec's floater's HP to 1 and made him only dispense bombs while the player was below eye level.
- Version 1.16.0 increased the horizontal margin of player proximity that would prompt Olmec to dispense bombs, and made him only dispense bombs a maximum of three times before forcing the player to destroy both of his floaters to make him repeat the attack.
- The first wave of changes was in version 1.15.0a. This update reduced Olmec's floater's HP to 1 and made him only dispense bombs while the player was below eye level.
Template:Spelunky 2 Monsters